When it comes to sourcing your ginger seeds
Ginger is a versatile and flavorful root that has been cherished for its culinary and medicinal properties for centuries. Cultivating ginger at home or on a larger scale can be a rewarding endeavor, but it all begins with the right seeds.
Understanding the various ginger plant varieties, selecting high-quality seeds, and preparing them properly are crucial steps in ensuring a successful harvest. This article aims to guide you through the essentials of ginger planting, from choosing the right seeds to caring for your plants and ultimately harvesting and storing the roots. Whether you're a novice gardener or an experienced horticulturist, this comprehensive guide will provide you with the knowledge you need to grow thriving ginger plants.
Understanding Ginger Plant Varieties
1.1 Types of Ginger Varieties
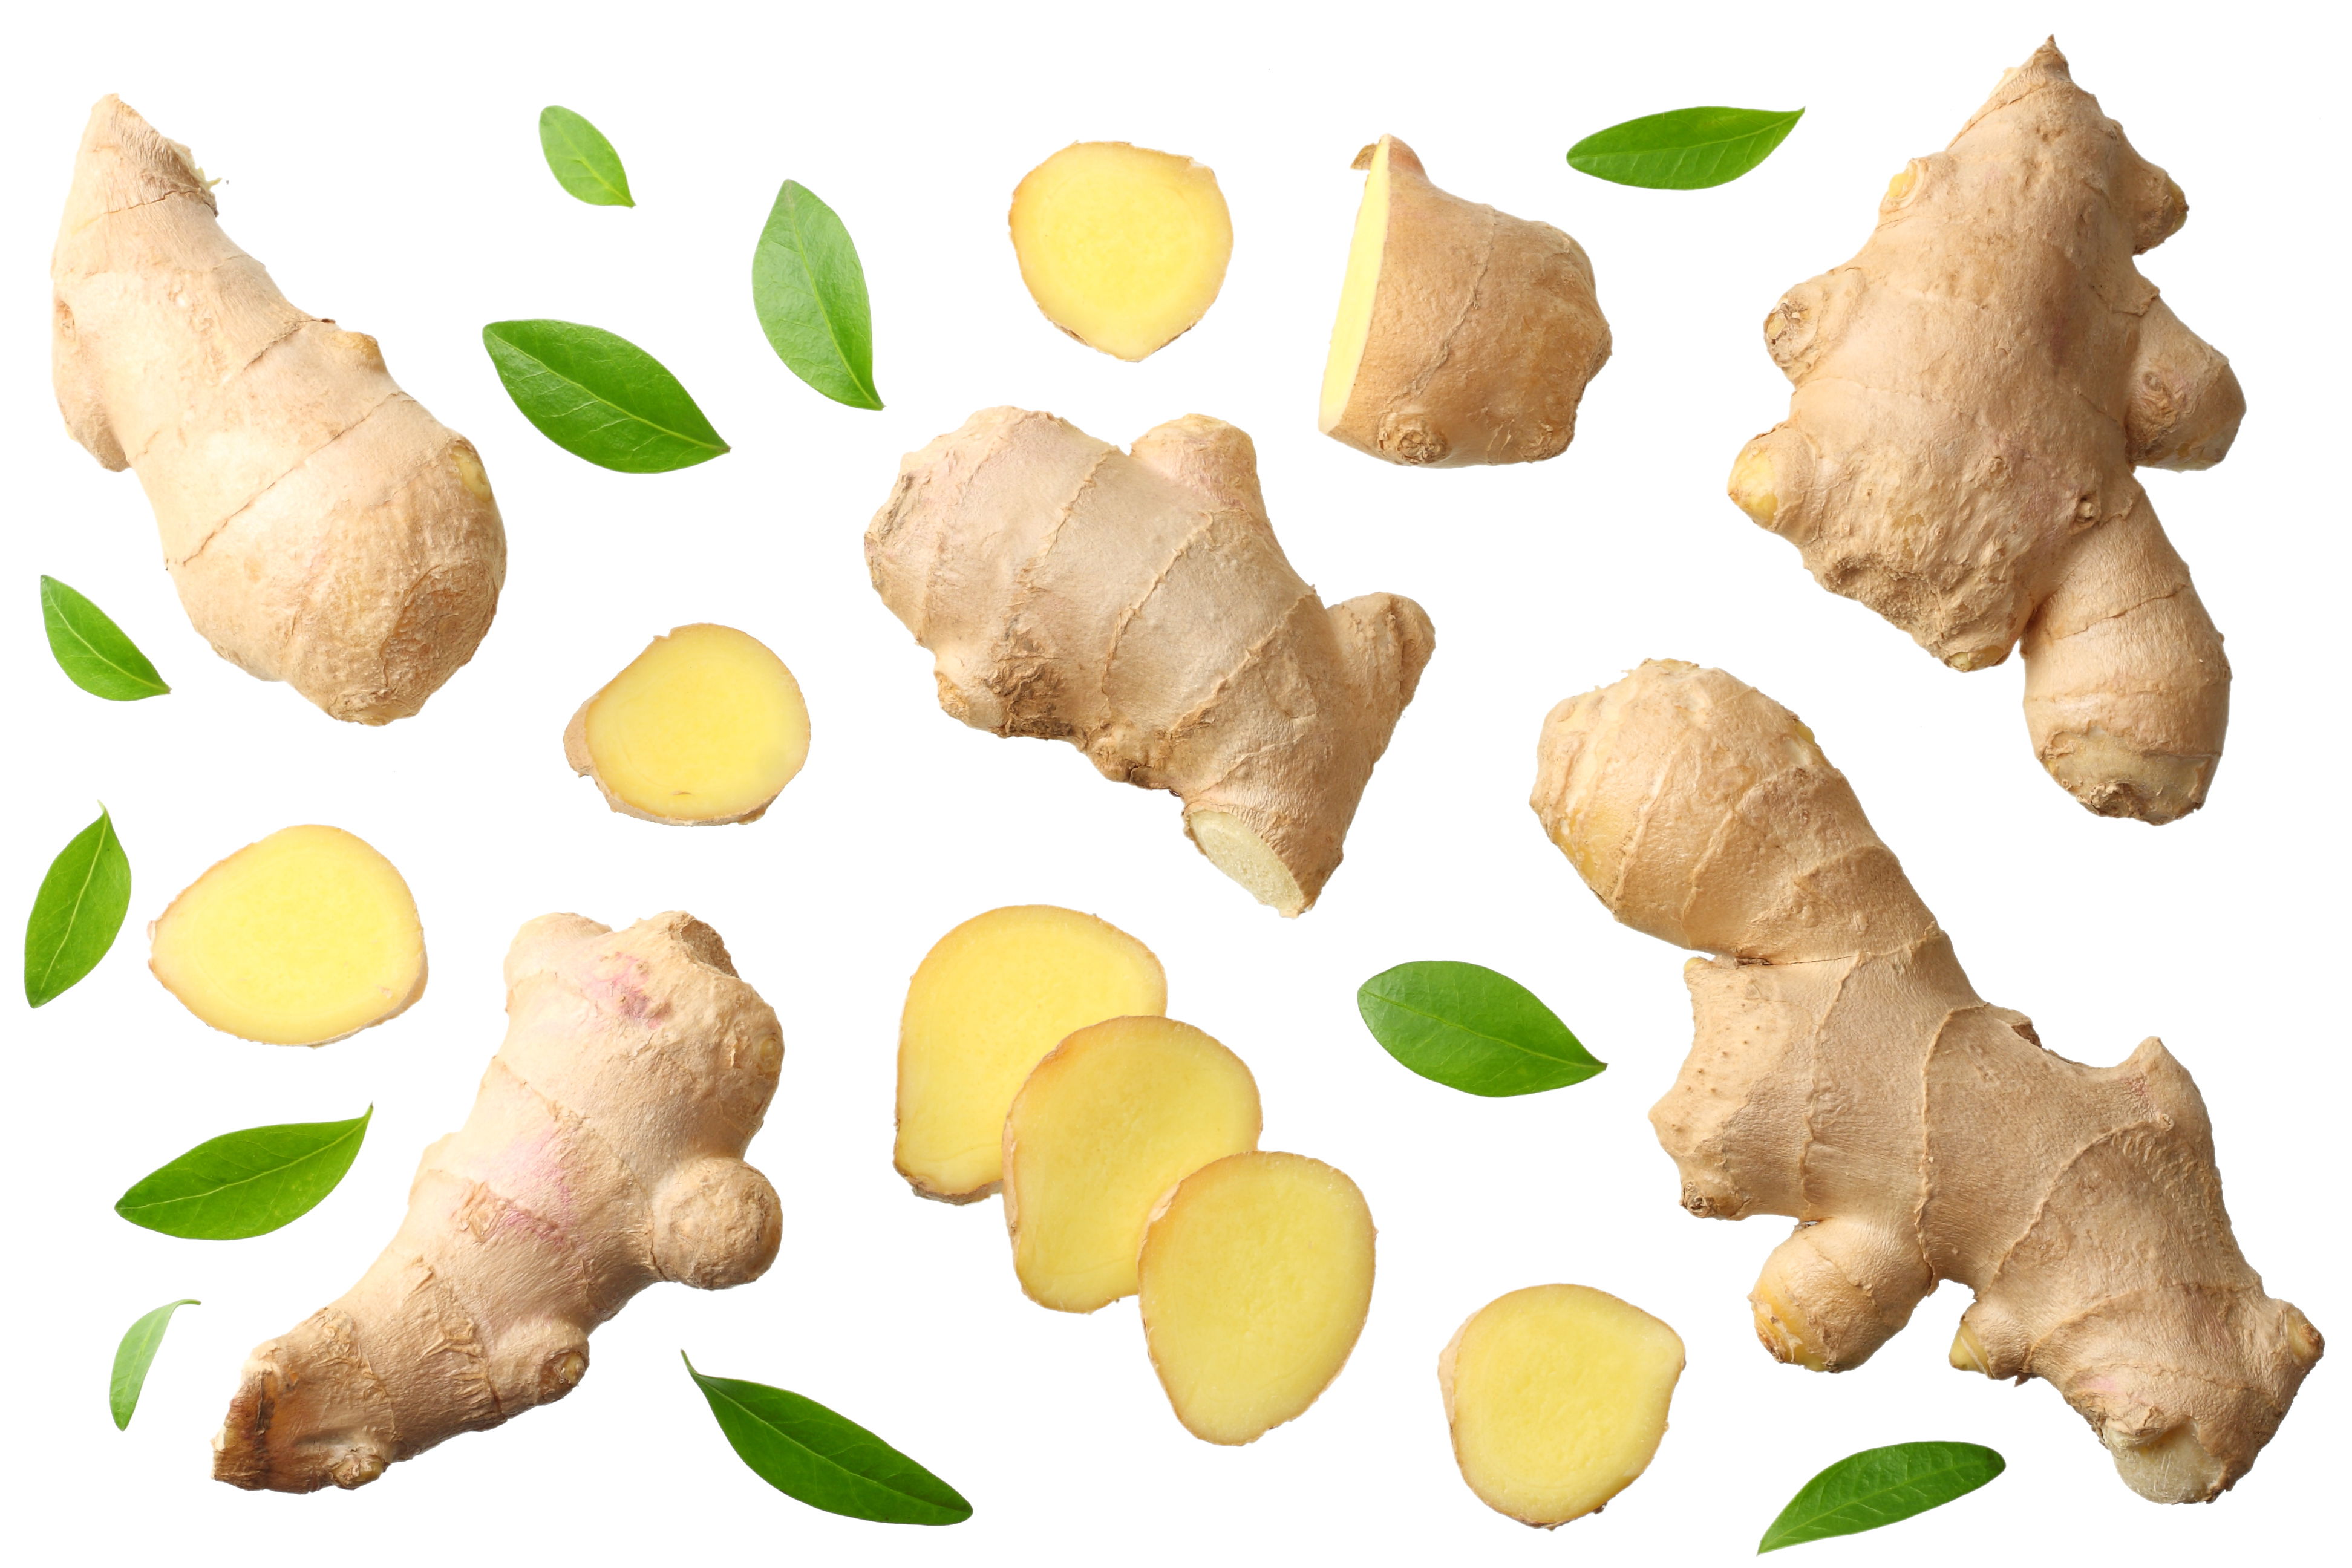
Ginger comes in several varieties, each with its own unique charm. The most popular include *Zingiber officinale*, the classic kitchen staple, and *Zingiber zerumbet*, known for its fragrant flowers and less spicy flavor. Whether you're looking to spice up your curry or add a fragrant touch to your garden, there's a ginger variety just waiting for you.
1.2 Flavor and Culinary Uses
When it comes to flavor, ginger packs a punch! From the fiery zing of fresh ginger in stir-fries to the warm, mellow essence found in baked goods, this versatile root is a chef’s best friend. Want to elevate your tea or give your cookies a kick? Ginger is your go-to! Different varieties may have varying levels of spice and sweetness, so get ready for a culinary adventure.
1.3 Climate Adaptability
Ginger is like that one friend who always adjusts to the situation—it's pretty adaptable! While it thrives in warmer climates, it can still do well in subtropical areas. Just keep in mind that it’s not a fan of frost. So, if you live in a cooler climate, consider planting ginger in containers for an indoor spice garden!
Choosing the Right Seeds for Planting
2.1 Certified Seed Sources
When it comes to sourcing your ginger seeds, think of certified seed sources as your trusted grocery store. These suppliers ensure that you're getting quality seeds that are disease-free and ready to grow. Always check for reputable nurseries or online shops that specialize in ginger to avoid any root-related mishaps!
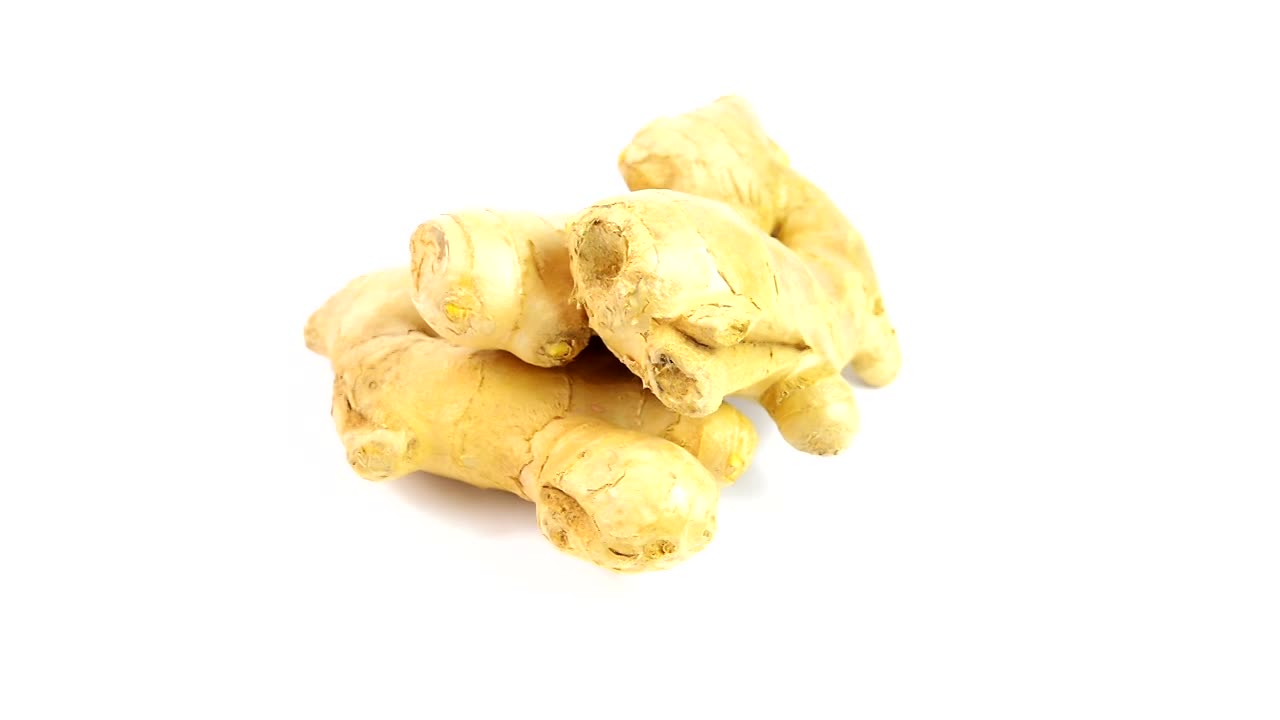
2.2 Quality Indicators of Ginger Seeds
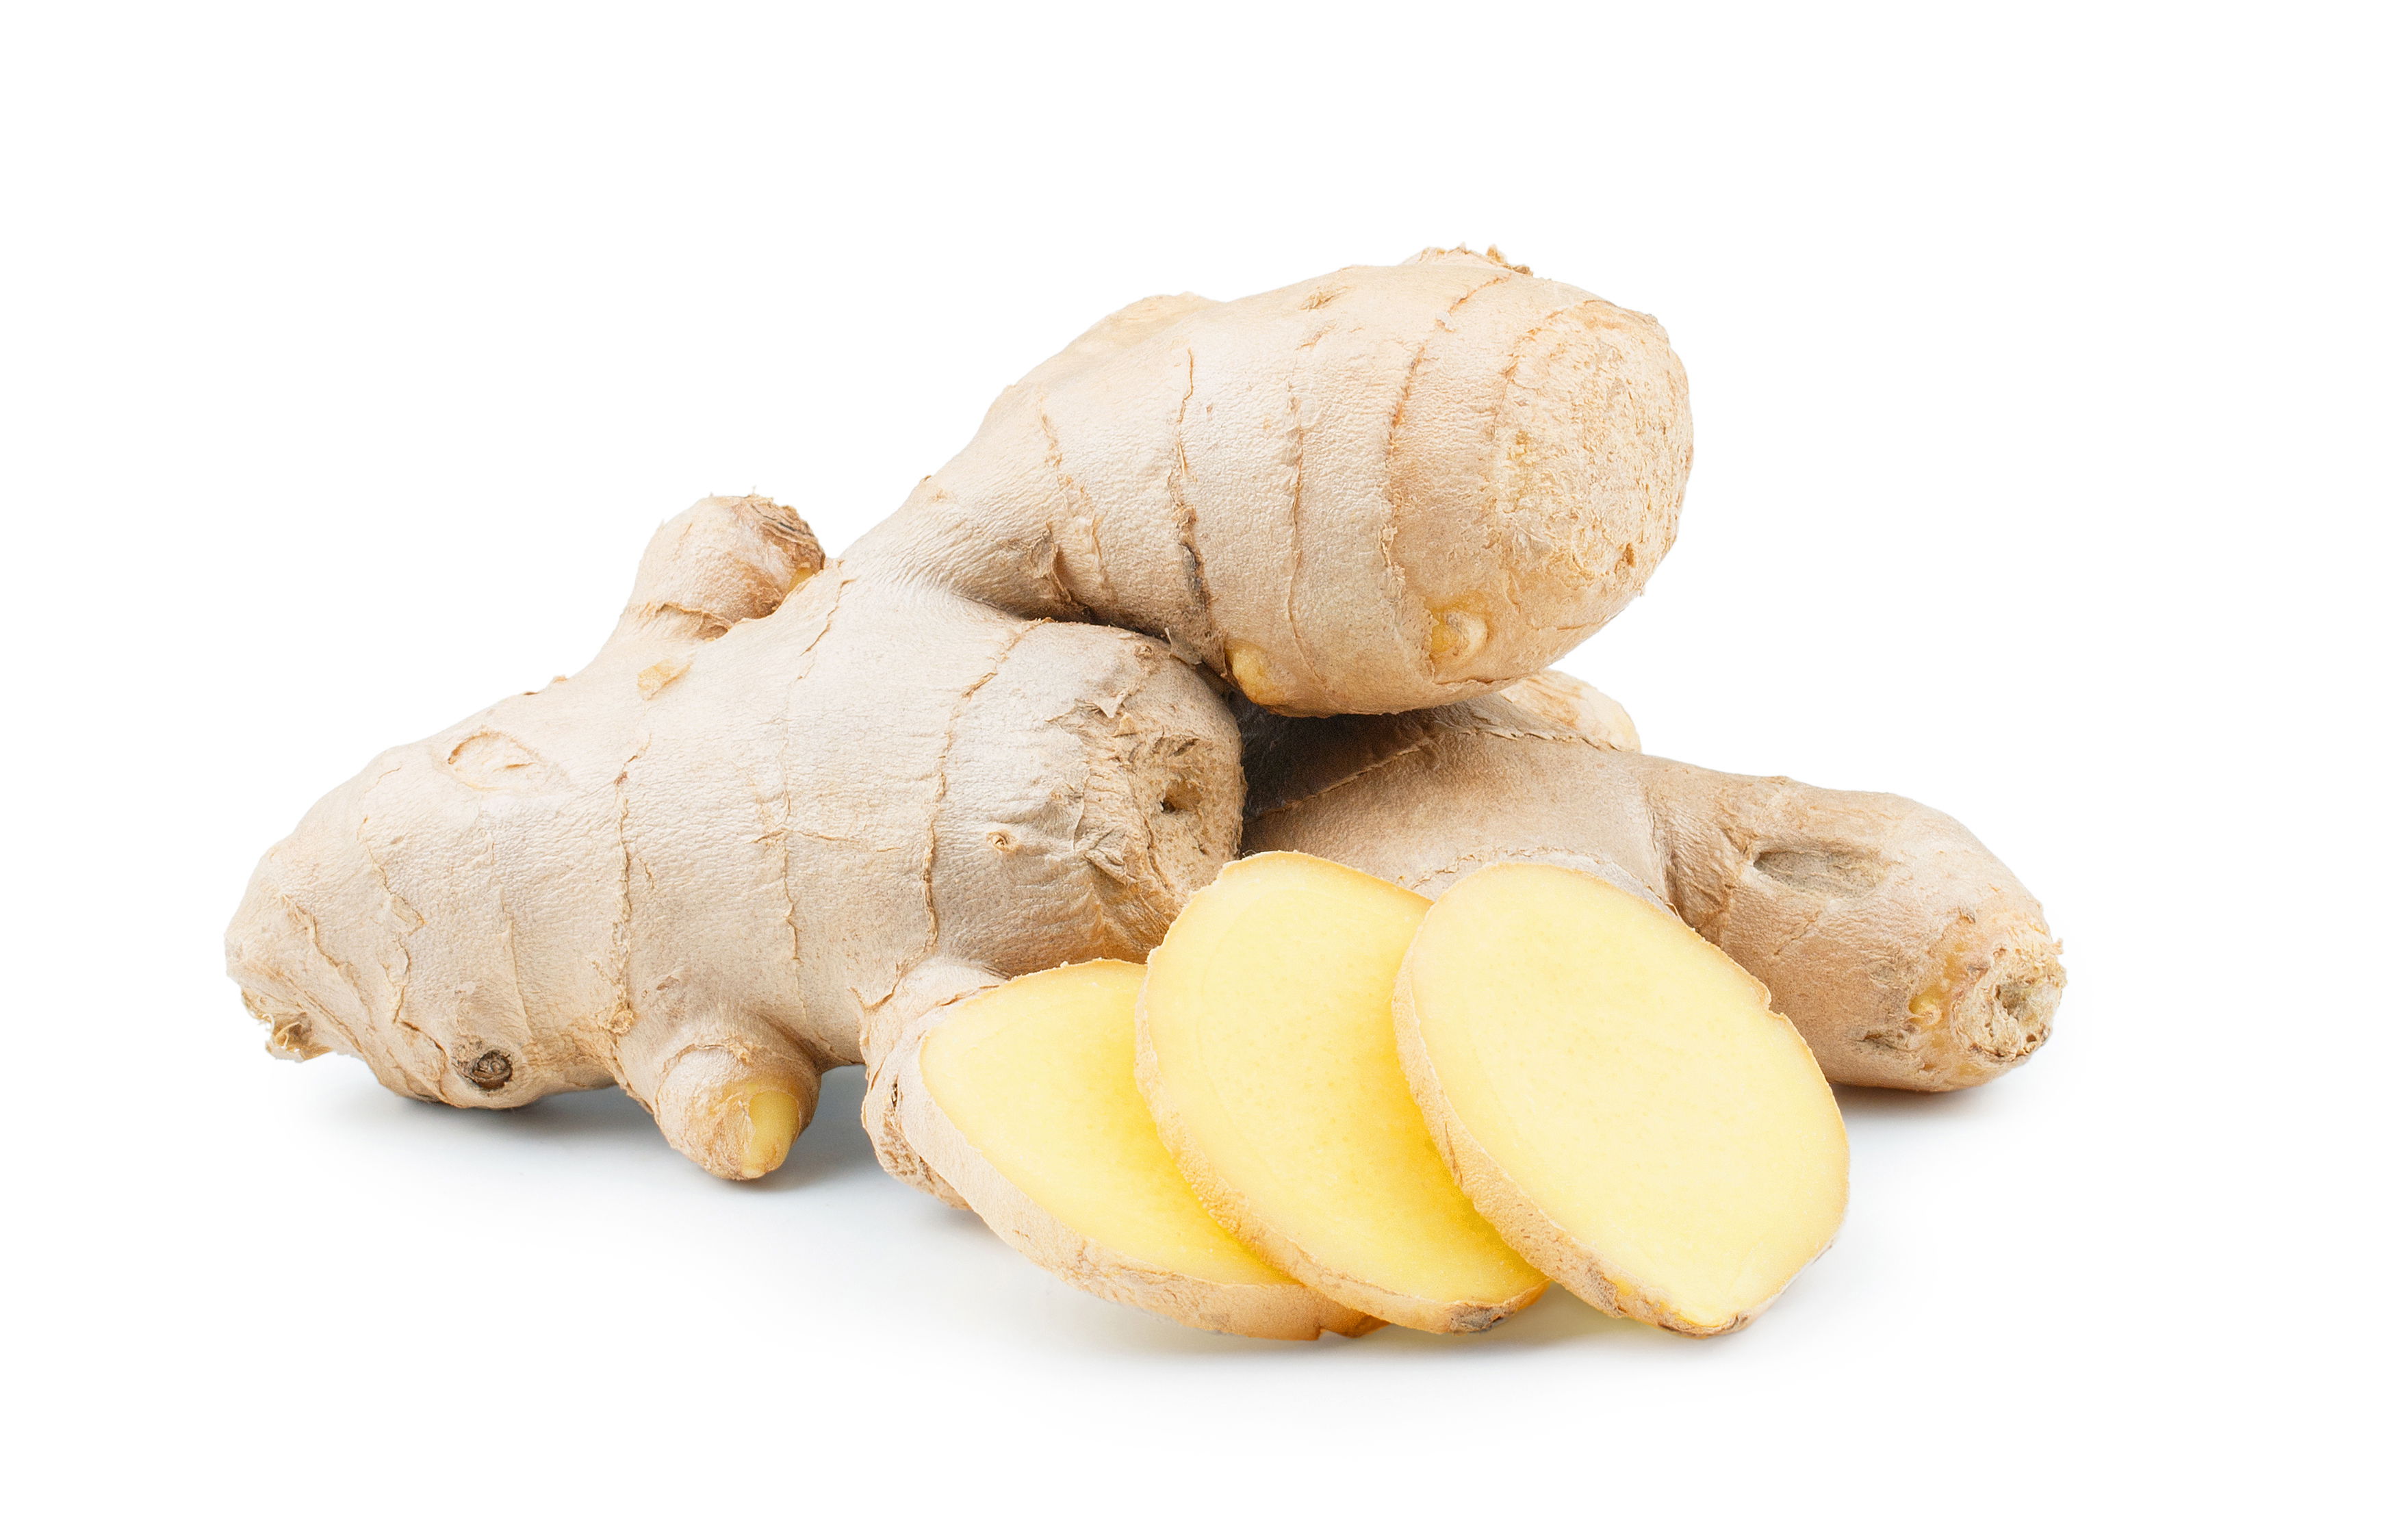
Picking the right seeds is crucial for a successful ginger garden. Look for plump, firm rhizomes that have healthy eyes (those little buds). Avoid any shriveled or moldy pieces—they're more likely to give you the dreaded “ginger fail.” Freshness is key, so don’t grab those sad-looking items in the back of the fridge; they’re not invited to your garden party!
2.3 Organic vs. Conventional Seeds
The great organic vs. conventional debate! Organic seeds are grown without synthetic pesticides and fertilizers, making them a popular choice for health-conscious gardeners. On the other hand, conventional seeds may be more readily available and less expensive. Your choice may depend on your gardening philosophy, but either way, make sure you choose high-quality seeds to get your ginger groove on!
Preparing Ginger Seeds for Planting
3.1 Pre-Planting Treatments
Before you dive into planting, give your ginger seeds a little TLC! Treat them with fungicides or soak them in a light solution of water and seaweed extract for a few hours. This will help fend off any potential diseases and get those seeds ready to sprout like rock stars!
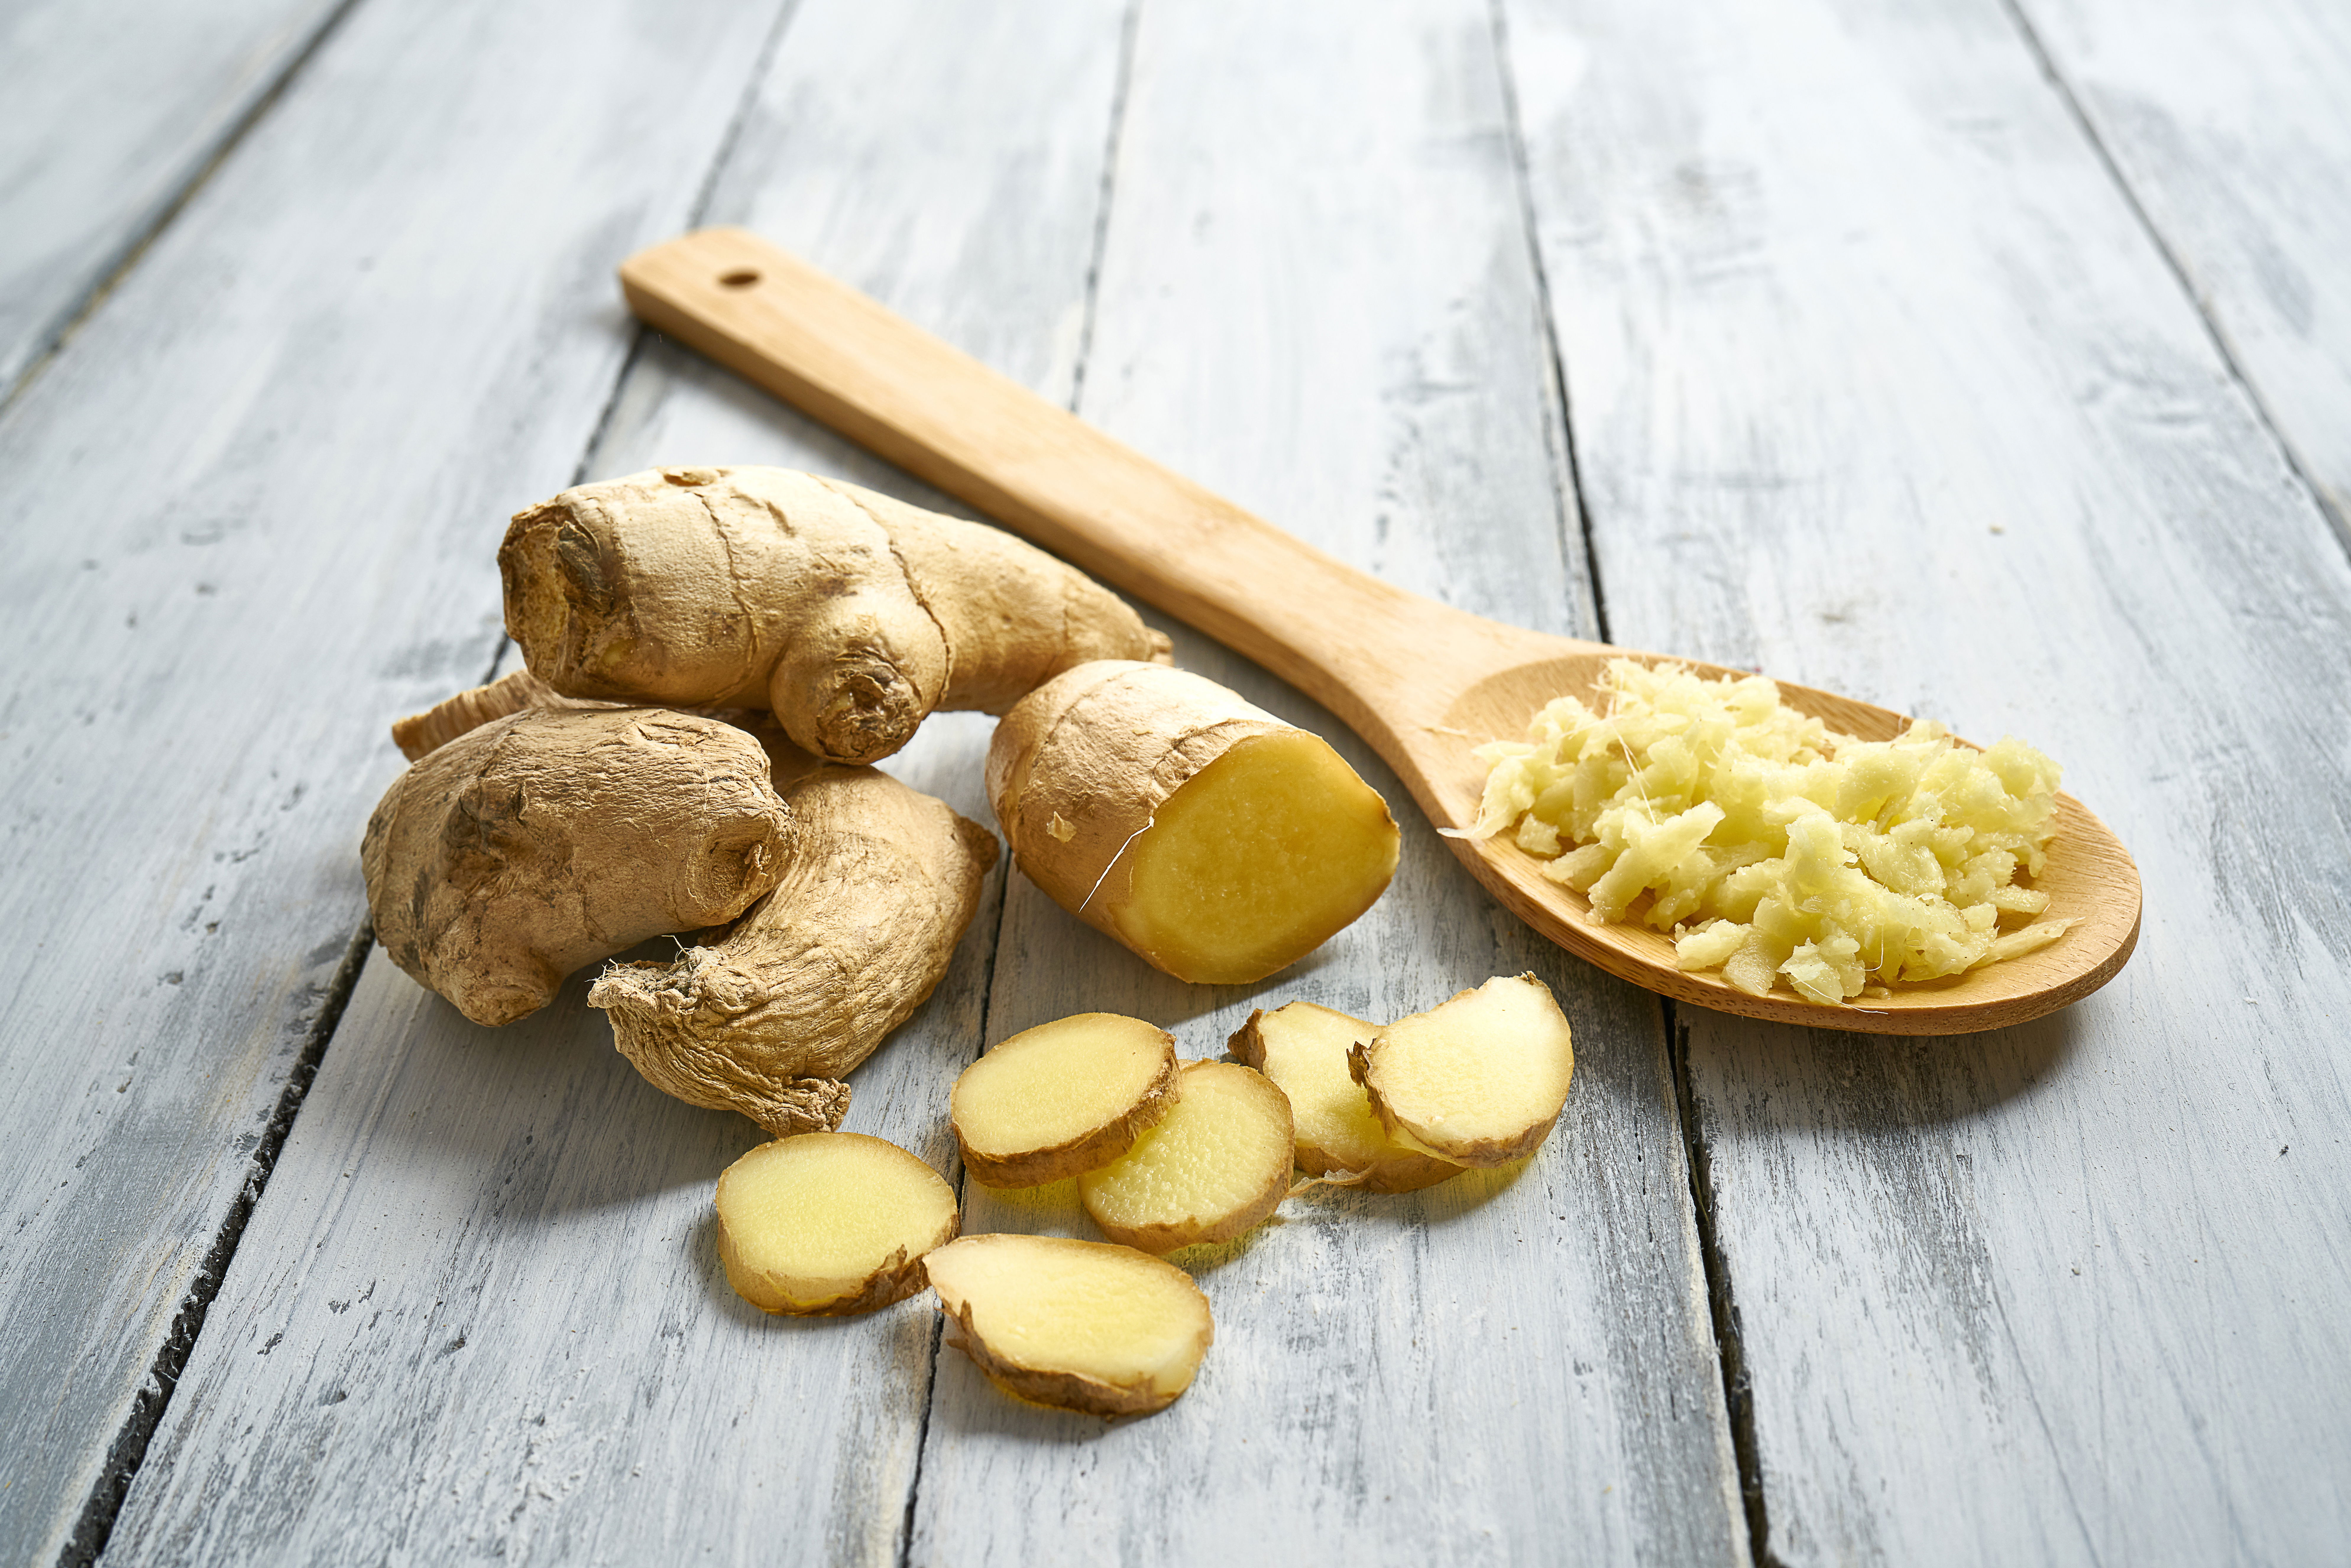
3.2 Cutting and Sizing Seed Rhizomes
Thinking about how to cut your ginger? Aim for sections of rhizome that are about 1-2 inches long and include at least one eye. It’s like ginger sushi-making! Just ensure each piece is healthy and avoid cutting them too small, or they may not make it to the big show in the garden.
3.3 Soaking and Sprouting Techniques
Once you’ve got your rhizomes ready, it’s time to get them sprouting! Soaking them in warm water overnight can give them a nice jumpstart. After soaking, place them in a warm, moist location—think cozy blanket vibes—and wait for those little eyes to begin sprouting. Patience is key, but soon enough, you’ll have your own ginger greenhouses sprouting up!
Ideal Growing Conditions for Ginger
4.1 Soil Requirements
Ginger has a penchant for well-draining, loamy soil that’s rich in organic matter. Think of it as the luxury hotel for your ginger roots. Make sure to amend your soil with compost or well-rotted manure for that extra oomph. Avoid heavy clay soils that cling on to water—it’s not a swamp party!
4.2 Temperature and Humidity Levels
Ginger loves warmth, so aim for temperatures between 70°F and 85°F (21°C to 29°C). Humidity is also its best friend, so if you live in a dry area, consider misting or using a humidifier. Your ginger will thank you with some super spicy roots!
4.3 Sunlight and Water Needs
While ginger enjoys a bit of sun, full-on scorch isn’t its style. It prefers partial shade, especially during the hottest parts of the day. Water your ginger regularly but don’t drown it—think ‘moist but not soggy’ for the perfect hydration. Remember, ginger’s happy when its roots stay cool and moist. Happy planting!
Planting Techniques and Best Practices
5.1 Timing for Planting
Timing is everything, especially when it comes to ginger! Ideally, plant your ginger rhizomes in spring when the soil temperatures are consistently above 70°F (21°C). This warm start will help your ginger thrive and give you a bountiful harvest later. If you live in a cooler climate, don't be shy about starting your rhizomes indoors and moving them outside once the weather warms up—just like you would do with your sun-hungry houseplants!
5.2 Planting Depth and Spacing
When it comes to planting depth, think of ginger as a sunbather who doesn’t want to get too buried in the sand. Plant your rhizomes about 2 to 4 inches deep in well-draining soil. Give each rhizome some personal space; about 12-18 inches apart should do the trick. This spacing not only allows for healthy growth but also keeps any pesky neighbors from crowding your ginger out.
5.3 Mulching and Soil Maintenance
Mulching is like giving your ginger plants a cozy blanket. It helps retain moisture, suppresses weeds, and maintains a nice, even soil temperature. Use organic materials like straw, wood chips, or even grass clippings. And don’t forget—ginger loves well-drained soil rich in organic matter, so consider amending your garden bed with compost or well-rotted manure. Your ginger will thank you with a robust growth spurt!
Caring for Your Ginger Plants
6.1 Watering Regimens
Ginger is like that friend who can’t stand being thirsty—keep the soil consistently moist, but not waterlogged. Aim for a watering routine that keeps the top inch of soil damp, especially during the hot summer months. If you notice the leaves wilting, it’s a sure sign they need a drink. Just remember, overdoing it can lead to root rot—a fate no one wants for their beloved ginger!
6.2 Nutrient Management and Fertilization
Ginger is a hungry plant, so playing the role of a plant chef is crucial. Use a balanced fertilizer every 4-6 weeks during the growing season. A low-nitrogen fertilizer can help promote root development instead of just leafy growth. If you’re feeling adventurous, try incorporating some fish emulsion or seaweed extract into your regimen—your ginger will soak up the extra nutrients like it's on a spa day!
6.3 Pruning and Weeding Techniques
Pruning ginger is less about giving it a haircut and more about keeping it tidy. Remove any dead or yellowing leaves to allow for better air circulation and to prevent any disease from crashing the party. As for weeding, stay vigilant! Weeds can steal nutrients and water from your ginger, so regularly check in on your garden and uproot any unwanted guests before they become a problem. Think of it as your garden’s version of a bouncer—keeping things in check!

Common Pests and Diseases in Ginger Cultivation
7.1 Identifying Common Pests
Ginger plants, though resilient, can sometimes attract unwanted guests. Watch out for aphids, spider mites, and root knot nematodes—they’re like the uninvited party crashers of the plant world. Aphids tend to congregate on new growth, while spider mites spin their tiny webs on the undersides of leaves. Regular inspection will help you catch them early—your ginger will appreciate the effort!
7.2 Recognizing Disease Symptoms
Keep an eye out for signs of trouble, like yellowing leaves, stunted growth, or unusual spots. These could indicate issues such as bacterial wilt or fungal infections like leaf spot. If your ginger starts looking more sad than sprightly, don’t hesitate to do some sleuthing to diagnose the issue—early intervention can save your precious plants from a dramatic downfall.
7.3 Integrated Pest Management Strategies
Fighting pests doesn’t have to be a war zone! Employ a holistic approach with integrated pest management (IPM). This means combining practices like using beneficial insects (hello ladybugs!), introducing traps, and rotating your crops to break pest cycles. Organic pesticides can also be a last resort if your ginger plants are in dire straits. Just remember, a healthy plant is your best line of defense!
Harvesting and Storing Ginger Roots
8.1 Signs of Maturity
Patience is a virtue when it comes to harvesting ginger. Wait about 8-10 months after planting before you start your treasure hunt. Look out for yellowing leaves and the plant starting to die back; these are key signs that your ginger roots are ready for the spotlight. If you’re itching to taste your ginger sooner, you can sneak a peek at baby ginger as early as 4 months—just know it will be milder in flavor!
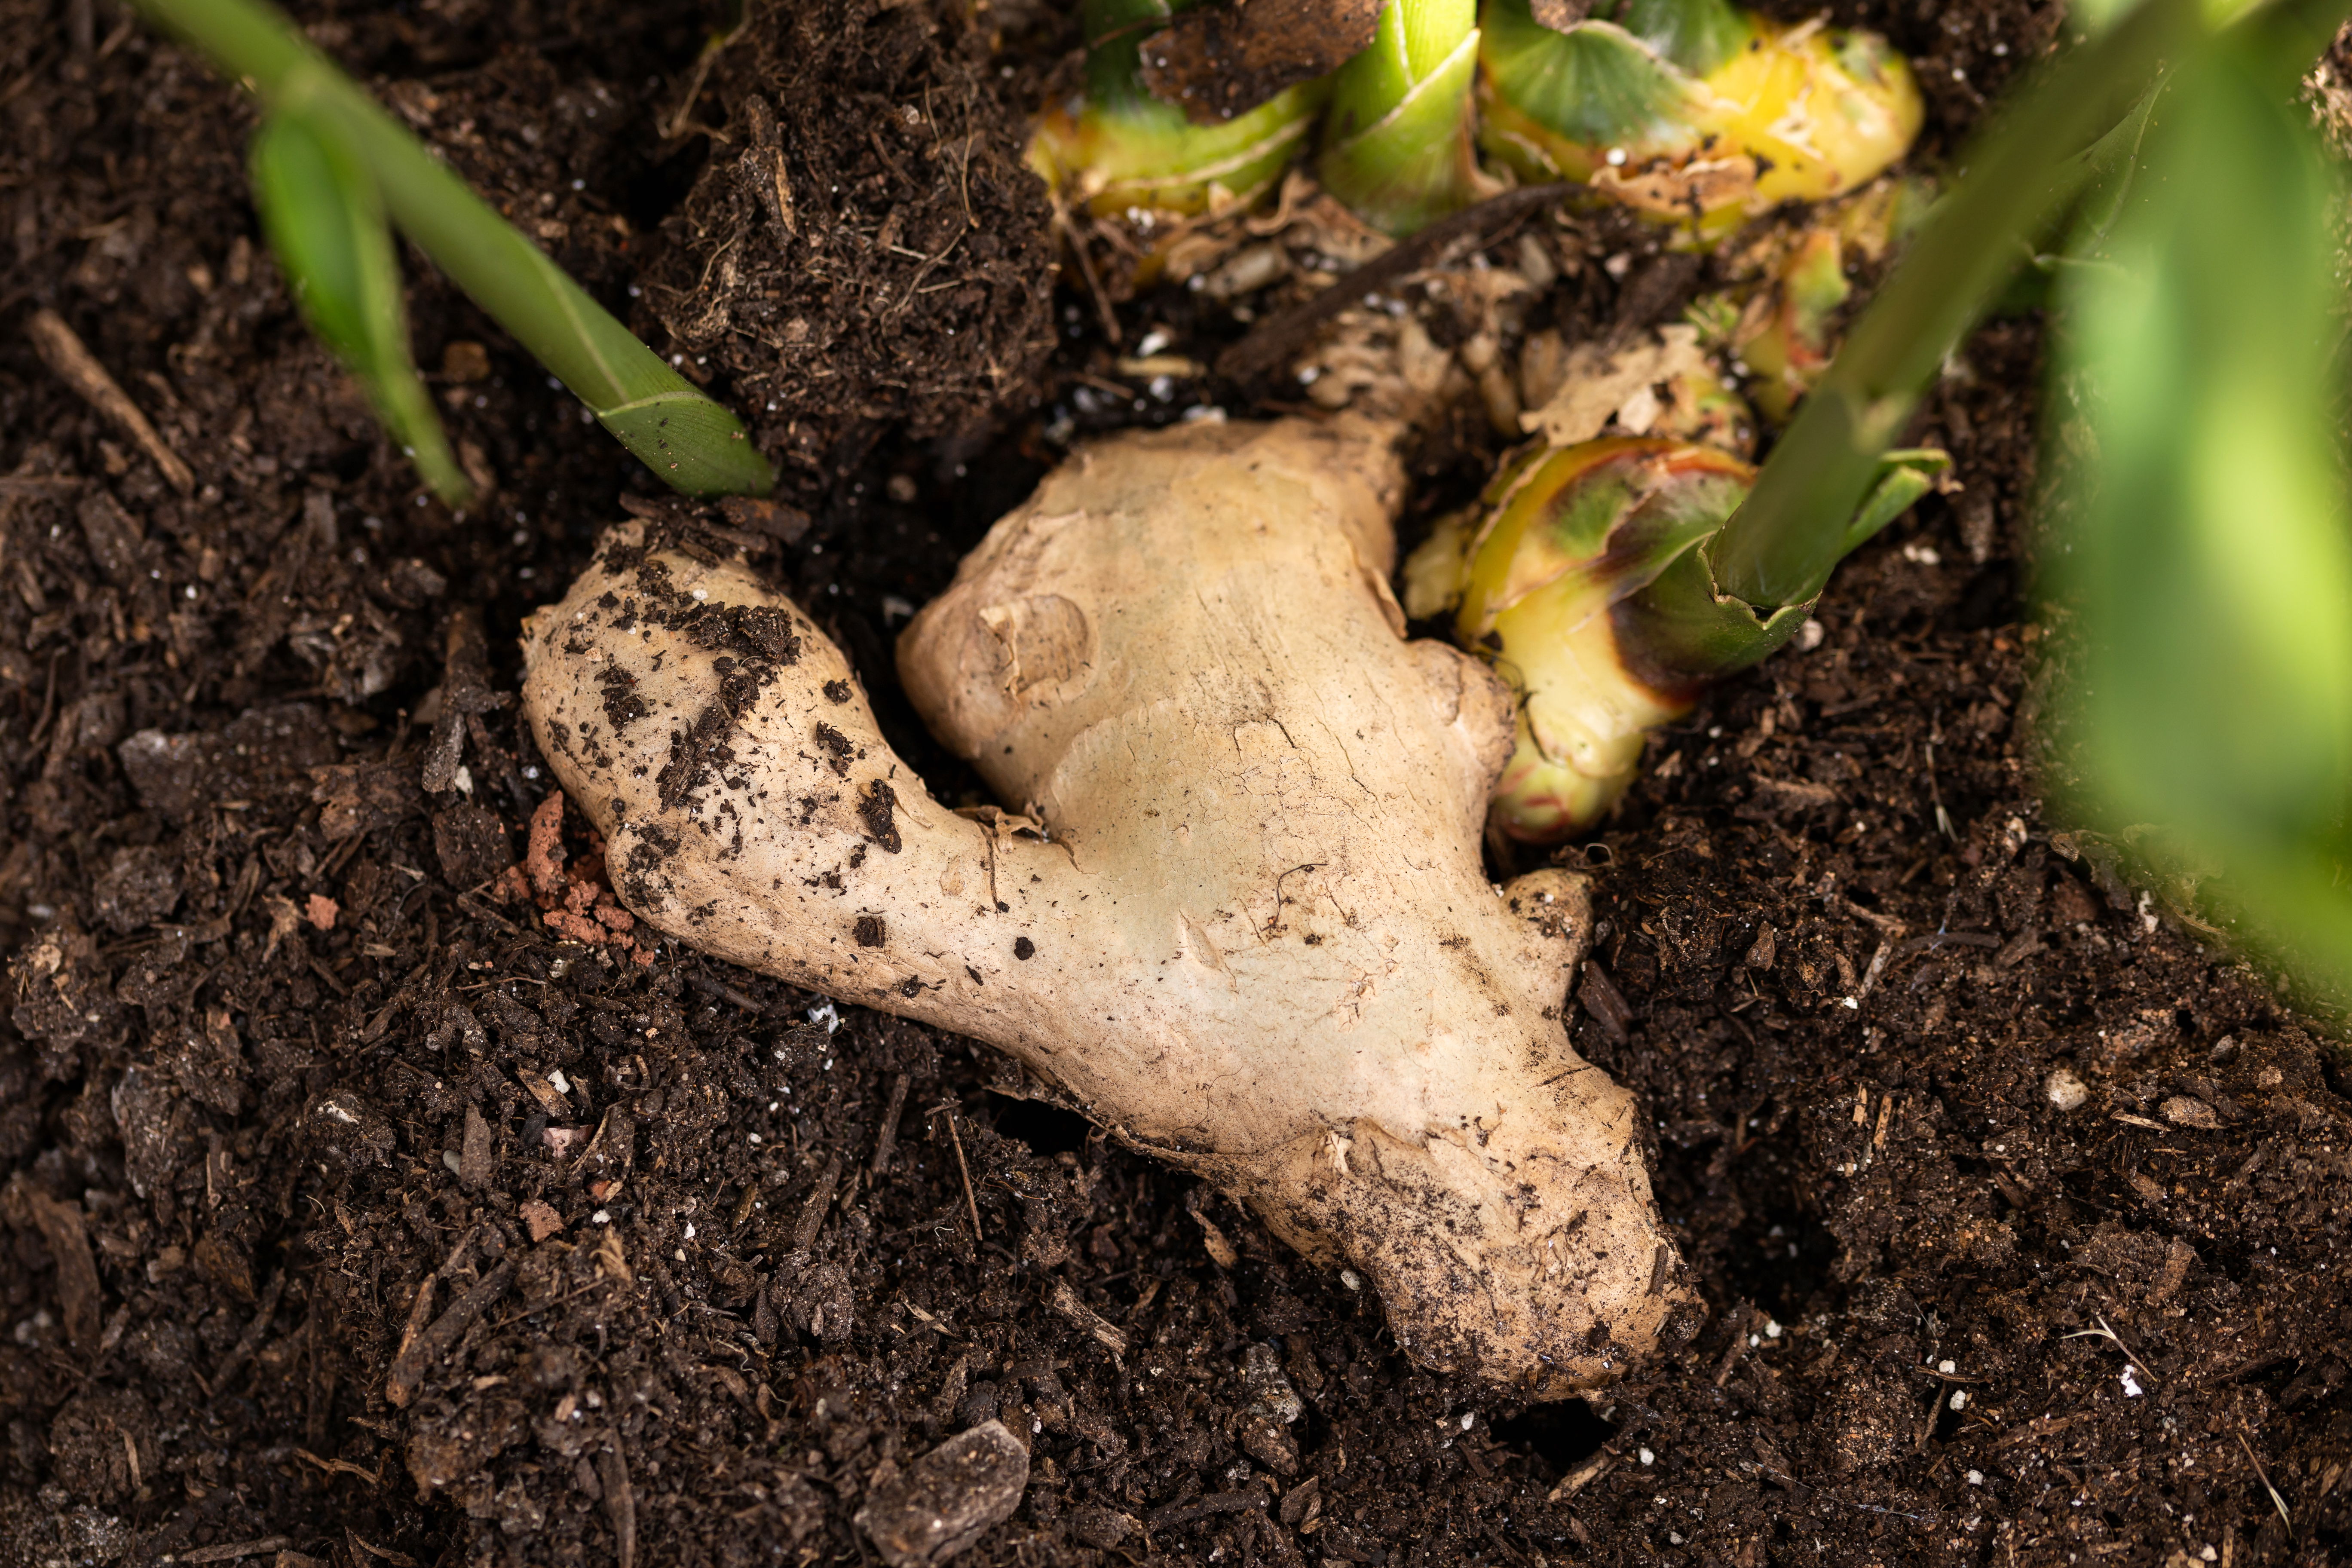
8.2 Harvesting Techniques
When it's finally time to harvest, channel your inner archaeologist! Carefully dig around the base of the plant to lift the rhizomes, taking care not to damage those juicy roots. Use a garden fork or your hands, but be gentle—think of it as unearthing buried treasure rather than a demolition job. Brush off any excess soil and avoid washing the roots until you’re ready to use them, as this helps extend their shelf life.
8.3 Proper Storage Methods
To keep your ginger fresh and zesty, store it in a cool, dry place away from direct sunlight. A paper bag or breathable container is perfect to let it breathe. If you’ve harvested a larger batch, consider freezing some rhizomes to extend their longevity—just chop them up or grate beforehand. Trust me, having ginger readily available in the freezer is a game-changer for your kitchen endeavors!
In conclusion, successfully growing ginger requires careful attention to seed selection, planting techniques, and ongoing care throughout the growing season. By following the guidelines outlined in this article, you can cultivate healthy ginger plants that produce abundant, flavorful roots. Whether you're using ginger for cooking, medicinal purposes, or as a cash crop, the satisfaction of nurturing your own plants and enjoying the fruits of your labor is truly rewarding. With patience and dedication, you can thrive in your ginger cultivation journey.
Frequently Asked Questions
What type of soil is best for planting ginger?
Ginger thrives in well-draining, loamy soil that is rich in organic matter. A slightly acidic to neutral pH, around 6.0 to 6.8, is ideal for optimal growth.
How long does it take for ginger to mature?
Ginger typically takes about 8 to 10 months to mature, depending on the variety and growing conditions. You can start harvesting baby ginger as early as 4-5 months.
Can ginger be grown in containers?
Yes, ginger can be successfully grown in containers as long as they are large enough to accommodate the plant's growth. Ensure the container has good drainage and is filled with nutrient-rich soil.
How often should I water my ginger plants?
Ginger plants require consistent moisture, so it's essential to keep the soil evenly moist but not waterlogged. Water them regularly, especially during dry spells, but reduce watering in cooler months.